
Hardware Overview and Connecting Cables
If IT is unable to help connect your phone, follow these steps.
Mitel/Aastra Phones
There are four connections on the underside of the Mitel/Aastra phones. Ports from left to right: phone handset, Ethernet PC, Ethernet LAN and power connection.
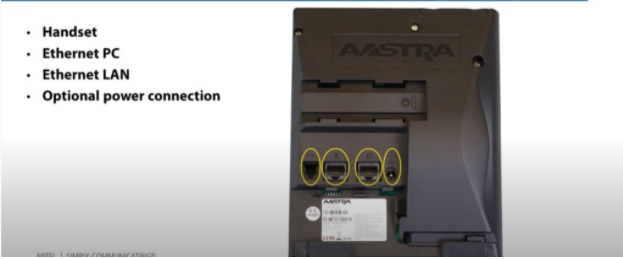
Phone handset connector
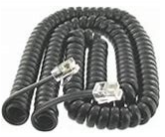
The handset connector provides connection from the handset to the phone base. Connect one end of the telephone cord into the handset and the other end to the first port in the back of the phone.
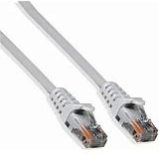
Ethernet PC Port
The Ethernet PC port connects your phone to your PC to provide an internet connection to your PC if no wireless is available. Connect the cable to the second port in the back of the phone.
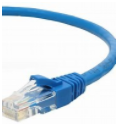
Ethernet LAN Port
Connect an ethernet cable to the third port on the back of the phone and connect the other end to an open port on your modem or router. This cable connects your phone to your network and will provide telephone service and dial tone. If you have a Power Over Ethernet (PoE) switch or injector, you will not need to use the optional power cable.
IMPORTANT: Do not unplug this cable while the phone is booting or you risk corrupting the system.
Power Connection

Connect the provided power cable to the power jack connection in the last port on the back of the phone. Only use the power cable if you do not have Power over Ethernet. IMPORTANT: If you do need to use the power cable, do not unplug it while the phone is booting or you risk corrupting the system.
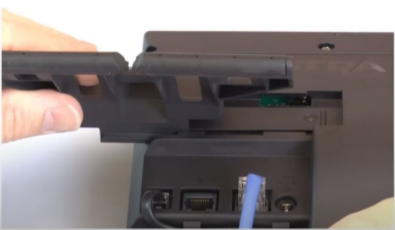
Reversible Stand
The reversible stand provides two different viewing angles, depending on which edge you slide into the phone. Insert your cables into the groove of the stand to neatly organize them.
Polycom Phones
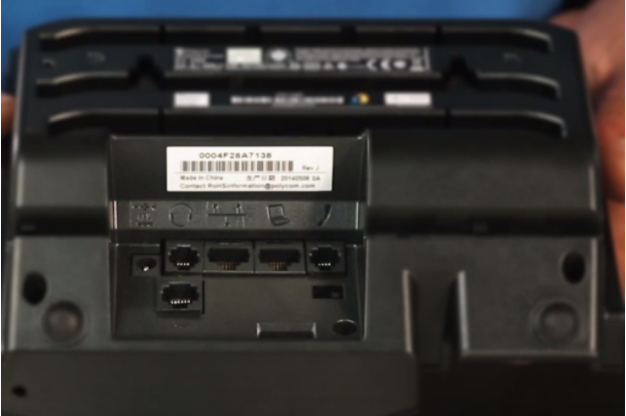
There are 5 connectors for a Polycom phone that you will be using. Ports from left to right: power, headset, Ethernet LAN, Ethernet PC, and phone handset.
Power Connection
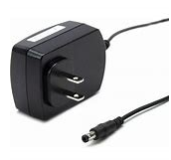
Connect the provided power cable to the power jack connection in the first port on the back of the phone. Only use the power cable if you do not have Power over Ethernet. IMPORTANT: If you do need to use the power cable, do not unplug it while the phone is booting or you risk corrupting the system.
Headset Port
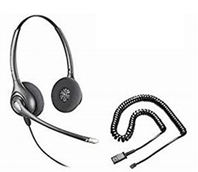
If you have an optional headset, connect the headset cord to the second port on the back of the phone.
Ethernet LAN Port
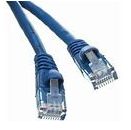
Connect an Ethernet cable to the third port on the back of the phone and connect the other end to an open port on your modem or router. This cable connects your phone to your network and will provide telephone service and dial tone. If you have a Power over Ethernet (PoE) switch or injector, you will not need to use the optional power cable.
IMPORTANT: Do not unplug this cable while the phone is booting or you risk corrupting the system.
Ethernet PC Port
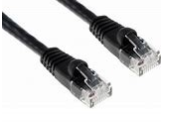
The Ethernet PC port connects your phone to your PC to provide an internet connection to your PC if no wireless is available. Connect the cable to the fourth port in the back of the phone.
Phone Handset Port
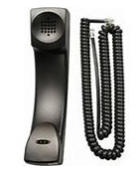
The handset connector provides connection from the handset to the phone base. Connect one end of the telephone cord into the handset and the other end to the last port in the back of the phone.
Troubleshooting
Occasionally the phone will have issues such as unable to boot or voice quality.
Unable to Boot
If your phone is failing to boot, make sure all cables are connected correctly and securely. If your phone attempts to boot and stays around 20% loading, this may mean that your phone is set to have a static IP, or you may have a bad ethernet cable. Try a new Ethernet cable from your modem to the phone. If that does not resolve the issue, contact RingSquared for further support.
Unable to Place Call
If unable to place a call, check that your router has the DNS server’s IP address set correctly. The Ips should be 8.8.8.8 and 1.1.1.1. For help configuring your router, please contact your Internet Service Provider (ISP) or refer to your router’s instruction manual.
If you are having audio issues, such as 1-way audio, contact your Internet Service Provider (ISP) to make sure the feature “SIP ALG” is disabled.
If you have any additional questions, please contact the RingSquared support team or call 800-427-Ring.