This article walks you through setting up the callback opt-out queue feature in AccuRoute®. This is an increasingly popular option that many customers like because they don’t have to wait on the phone to keep their place in the queue.
To use this optional feature, you need to create a Real-Time Event as explained below.
How Do Agent Queues Work?
Within AccuRoute, routing profiles define the flow of logic and prompts that an inbound call will progress through. These routing rules and profiles help your calls get to the correct target.
If you want to create a hold system to handle inbound calls until the next agent is available, you’ll want to create an agent queue.
Your new agent queue can be setup in several ways including a VoIP Phone System using Hosted PBX technology, SIP Trunking, and directly to 10-digit DIDs.
Advanced queue features like the opt-out callback give your queues more flexibility and save callers time by asking for an agent to call them back instead of staying in the queue for long periods.
Creating a Real-Time Event in AccuRoute
To get notified when a customer opts for a callback, set up a real-time event to report their call information:
- On the Settings screen, select your event type (Voice Call Event, Texting/SMS Event, or Texting/SMS Message Event)
- Fill in your event information including Event Name, File Name, and File Type
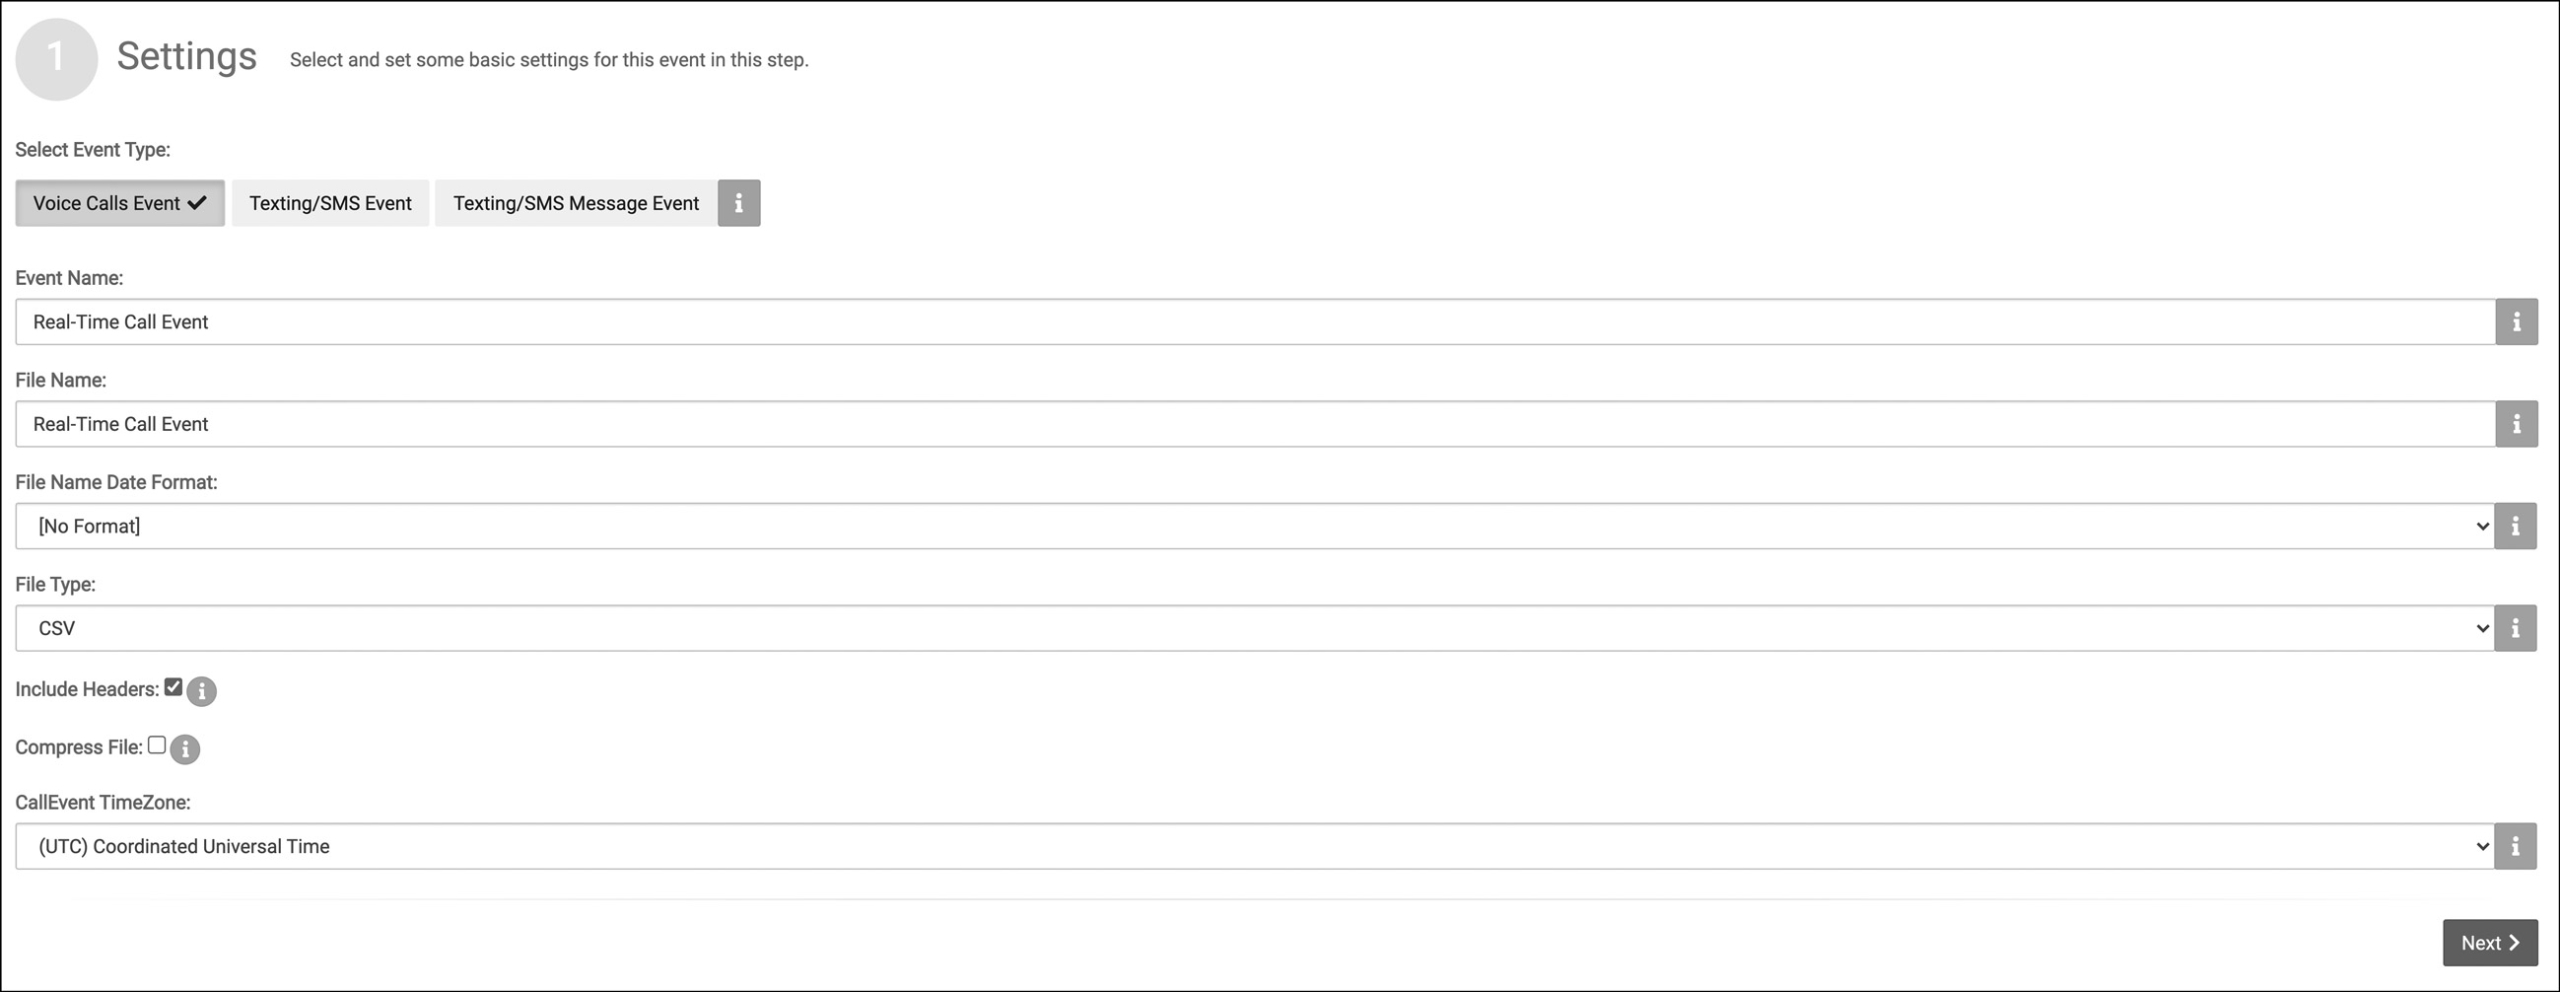
- Click Next
- On the Filters screen you define your filters to determine which calls will generate the Real-Time Event, making sure to click Calls then DNIS to enter the DNIS/TFN that is attached to your routing profile
- In the Filters menu you will also want to click Tags, then Routing Tags, and select Queue_Exit_Reason: Request Callback
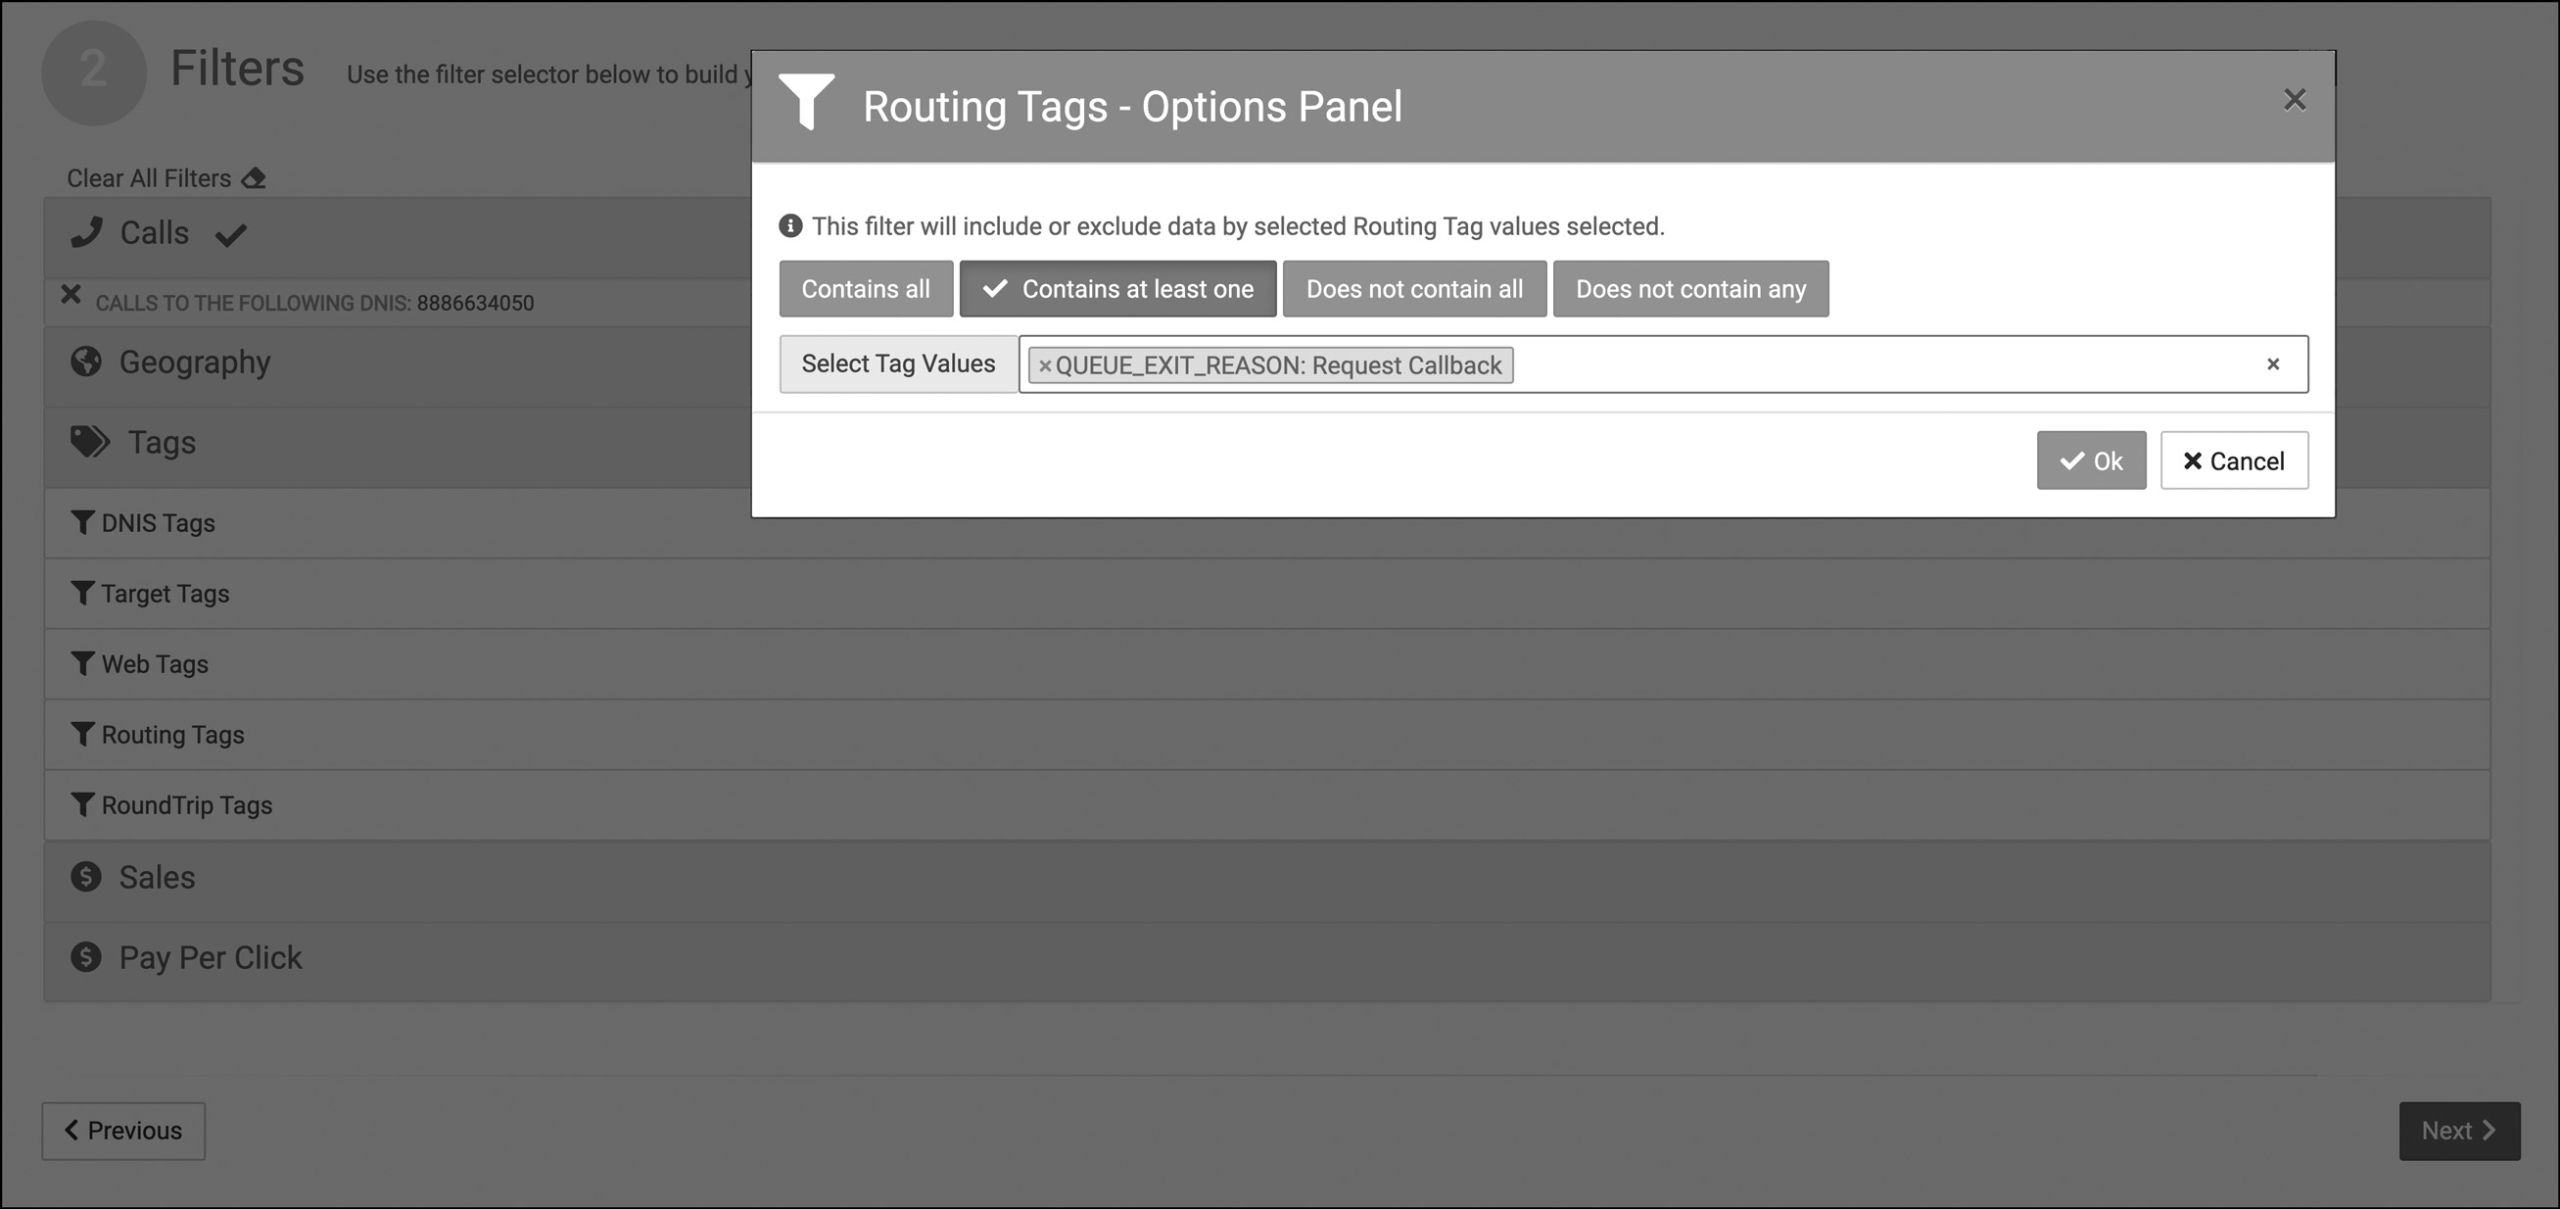
- Click Next
- On the Options screen, select Basic and use the Template drop down to select from a list of predefined data templates
- Click Preview to see the template data fields
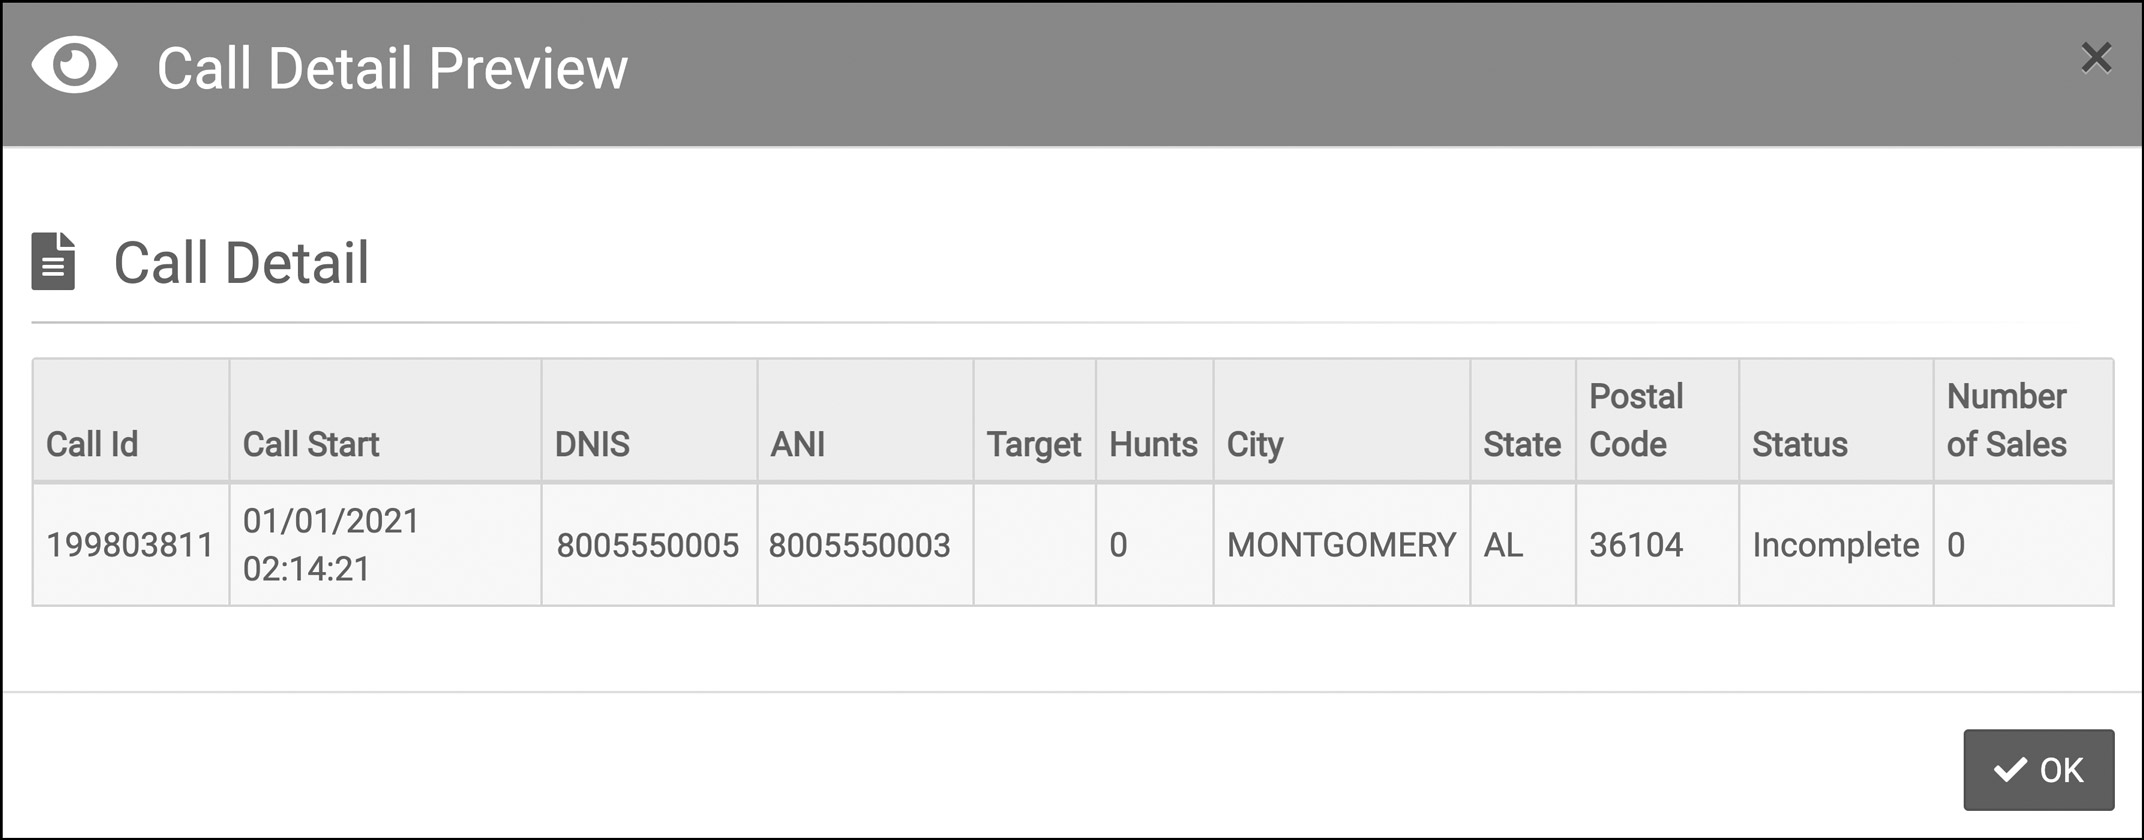
- Click Next
- On the Destination Screen, select the Destination to determine how and where the Real-Time Event is sent.
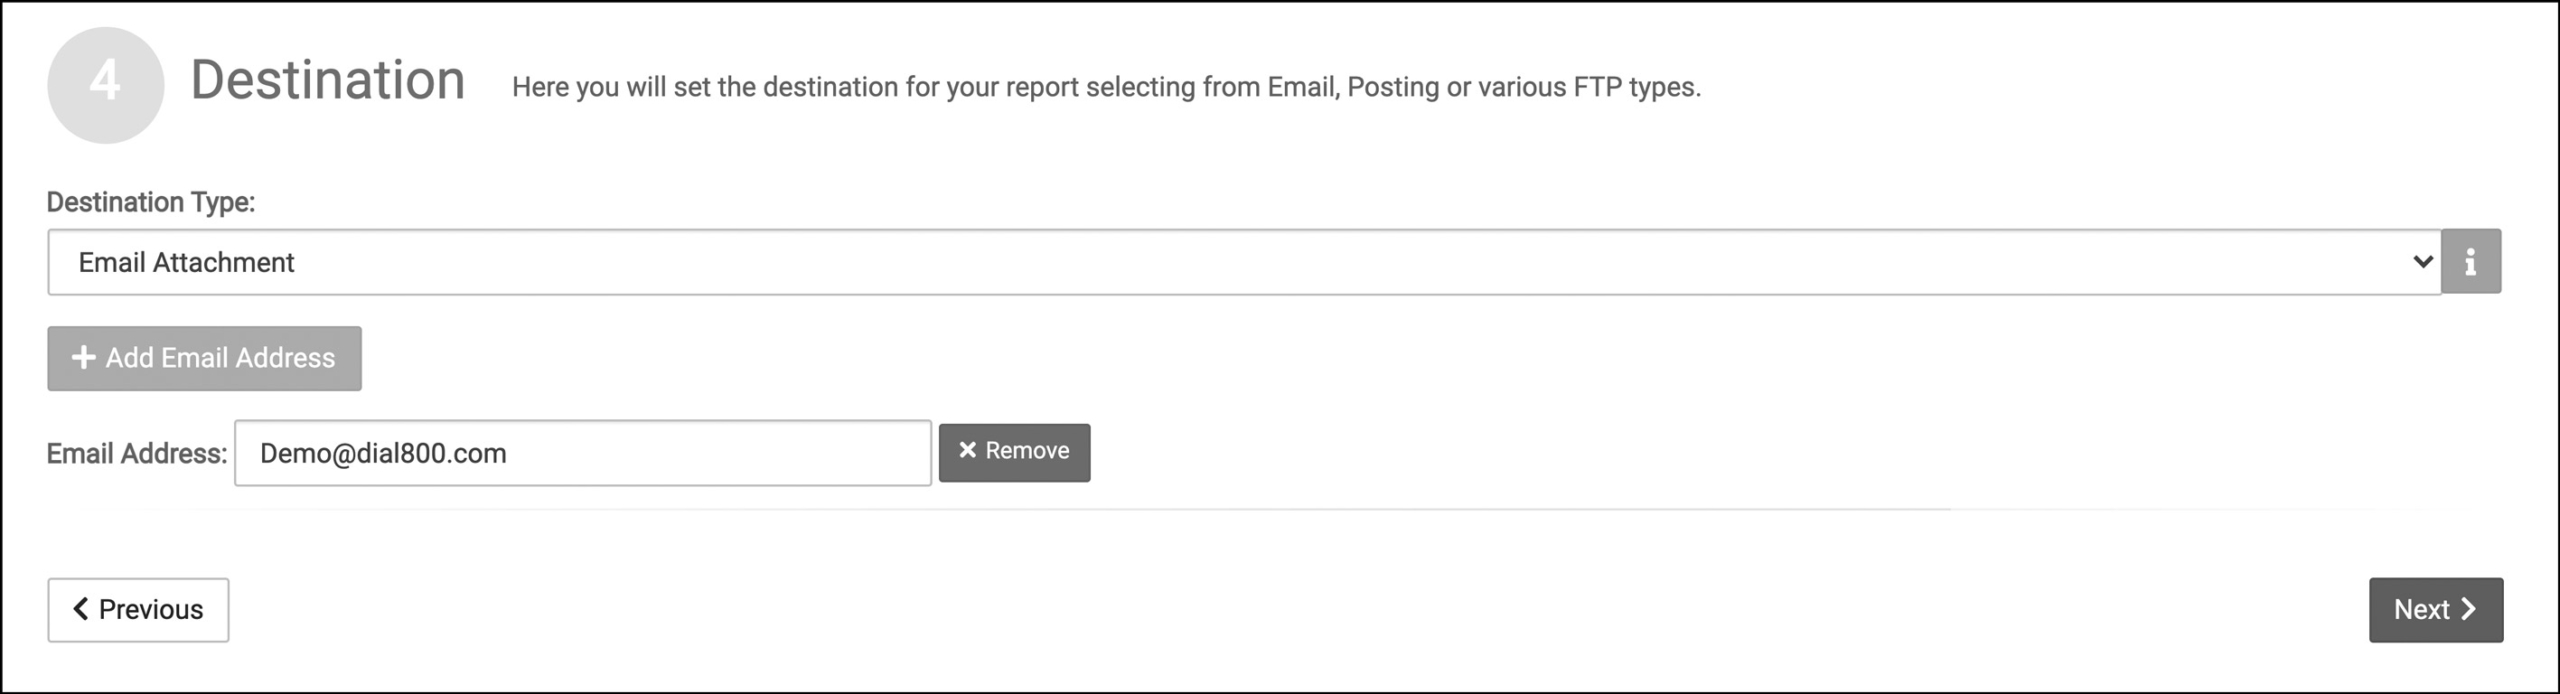
- Choose to send to an email address as an attachment or within the body of the email, or post it to an HTTP endpoint or send via FTP (use this guide to understand each destination)
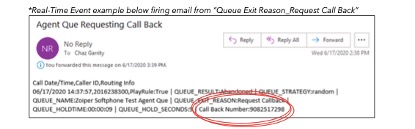
- Below is an example of an email attachment received with a callback number.
- Finally, use the Confirm screen to verify all your choices are correct and click Finish
Your call queue real time event is now saved and ready to notify you when a customer asks for a callback.