This article walks you through the basic steps for setting up a customized dashboard in CallView360® in order to see key data and statistics about your incoming calls.
Why Set Up a Customized KPI Dashboard?
CallView360’s dashboards make it easy to review different types of data from over 100 KPI widgets in our software. KPI, or Key Performance Indicators, are data points you want to track and measure to assess your business goals, evaluate digital marketing performance in driving traffic, track call conversions, and more.
These dashboards are personalized by each user, allowing you to track and view only the data points relevant to your business. Because you can create multiple dashboards, we recommend having a focus for the data you include in each dashboard. The general categories of KPI data you can track with these dashboards include:
- Call count, call minutes & call seconds
- Gross & average revenue
- Closed calls, call status, connected call percent & incomplete call percent
- Text conversations, text message counts, text gross & average revenue, and closed text ratios
- Agent queues
There are two parts to setting up KPI dashboards – creating the dashboard and then customizing it. Follow the steps below to create your own.
Step 1: Create a New Dashboard
Complete the following steps to create a new dashboard. Once it is created, you can customize the dashboard.
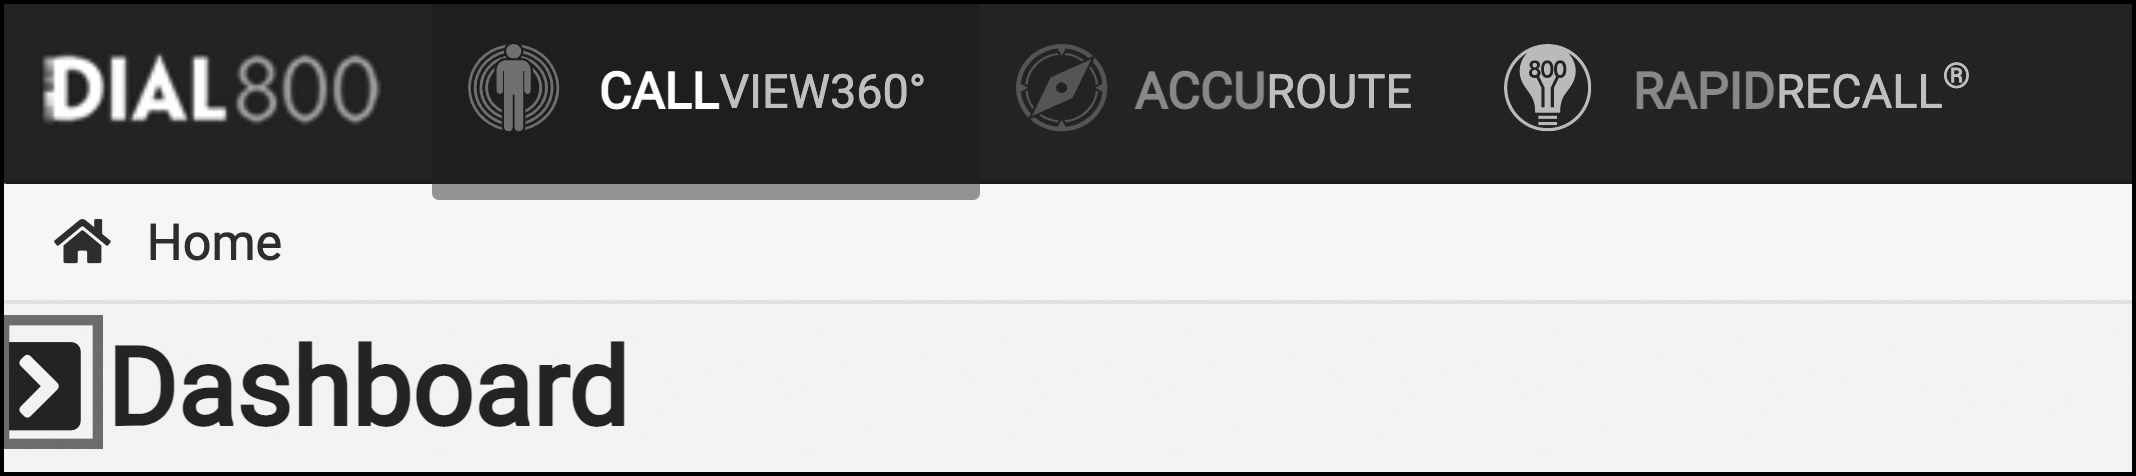
- Navigate to CallView360
- Click the black arrow on the left side of the screen
- Select the “+” to the right of the Saved Dashboards line to create a new Dashboard
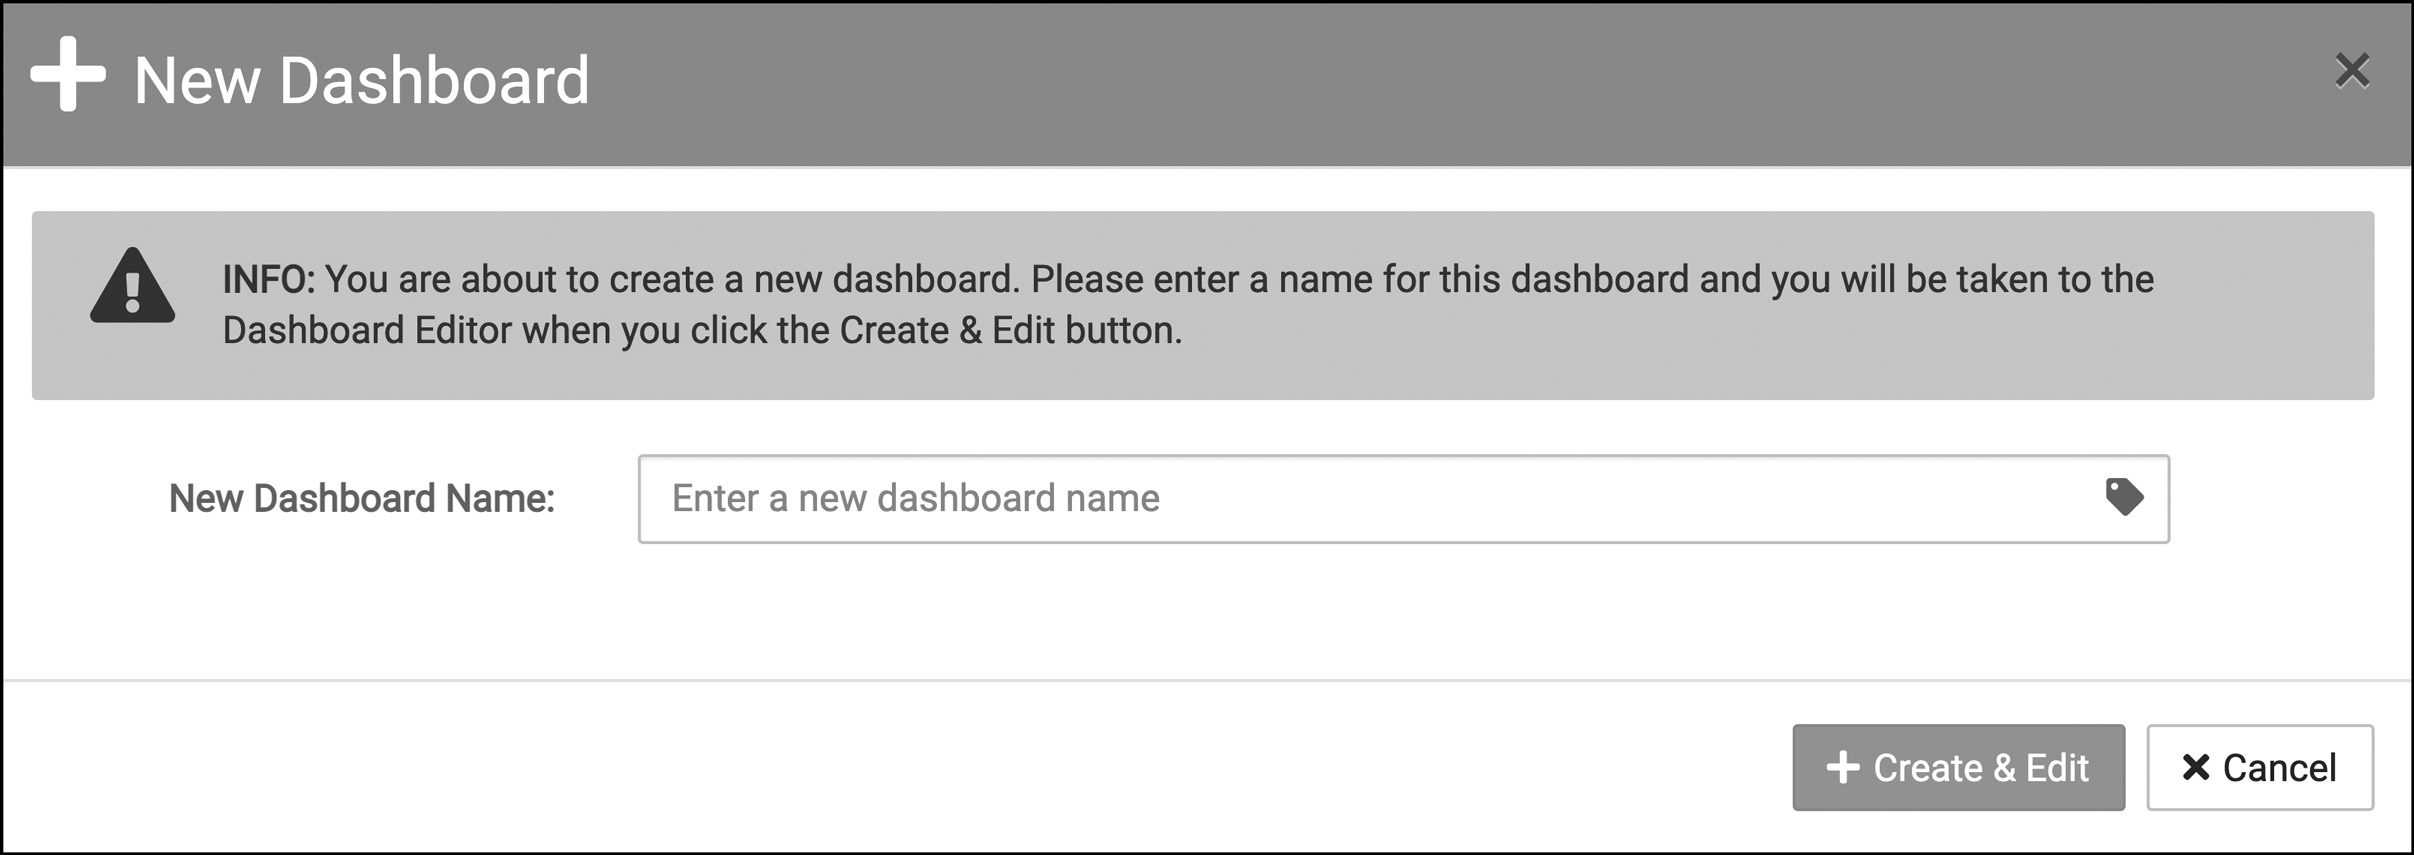
- Name your new dashboard, then click Create & Edit to continue to the customization step
- If you need to change the name of your dashboard later, you can select the gear icon next to the name of your dashboard in the customization page
Step 2: Customize Your Dashboard
Once your dashboard is named and created, you can customize it by selecting the data you want to view.
- Navigate to CallView360
- Click the black arrow on the left side of the screen
- Under the Saved Dashboards, select the pen and paper edit icon next to the name of the dashboard you created in step 1
- You can also clone your dashboard here with the clone icon, or you can also delete the dashboard by selecting the red trashcan icon
- Once in the customization page, you will see many widget categories on the left-hand side of the page – each of the categories has drop down options were you can select a second filter to specify the data you want
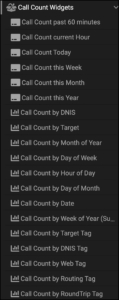
- Select a widget from the list to add to your dashboard
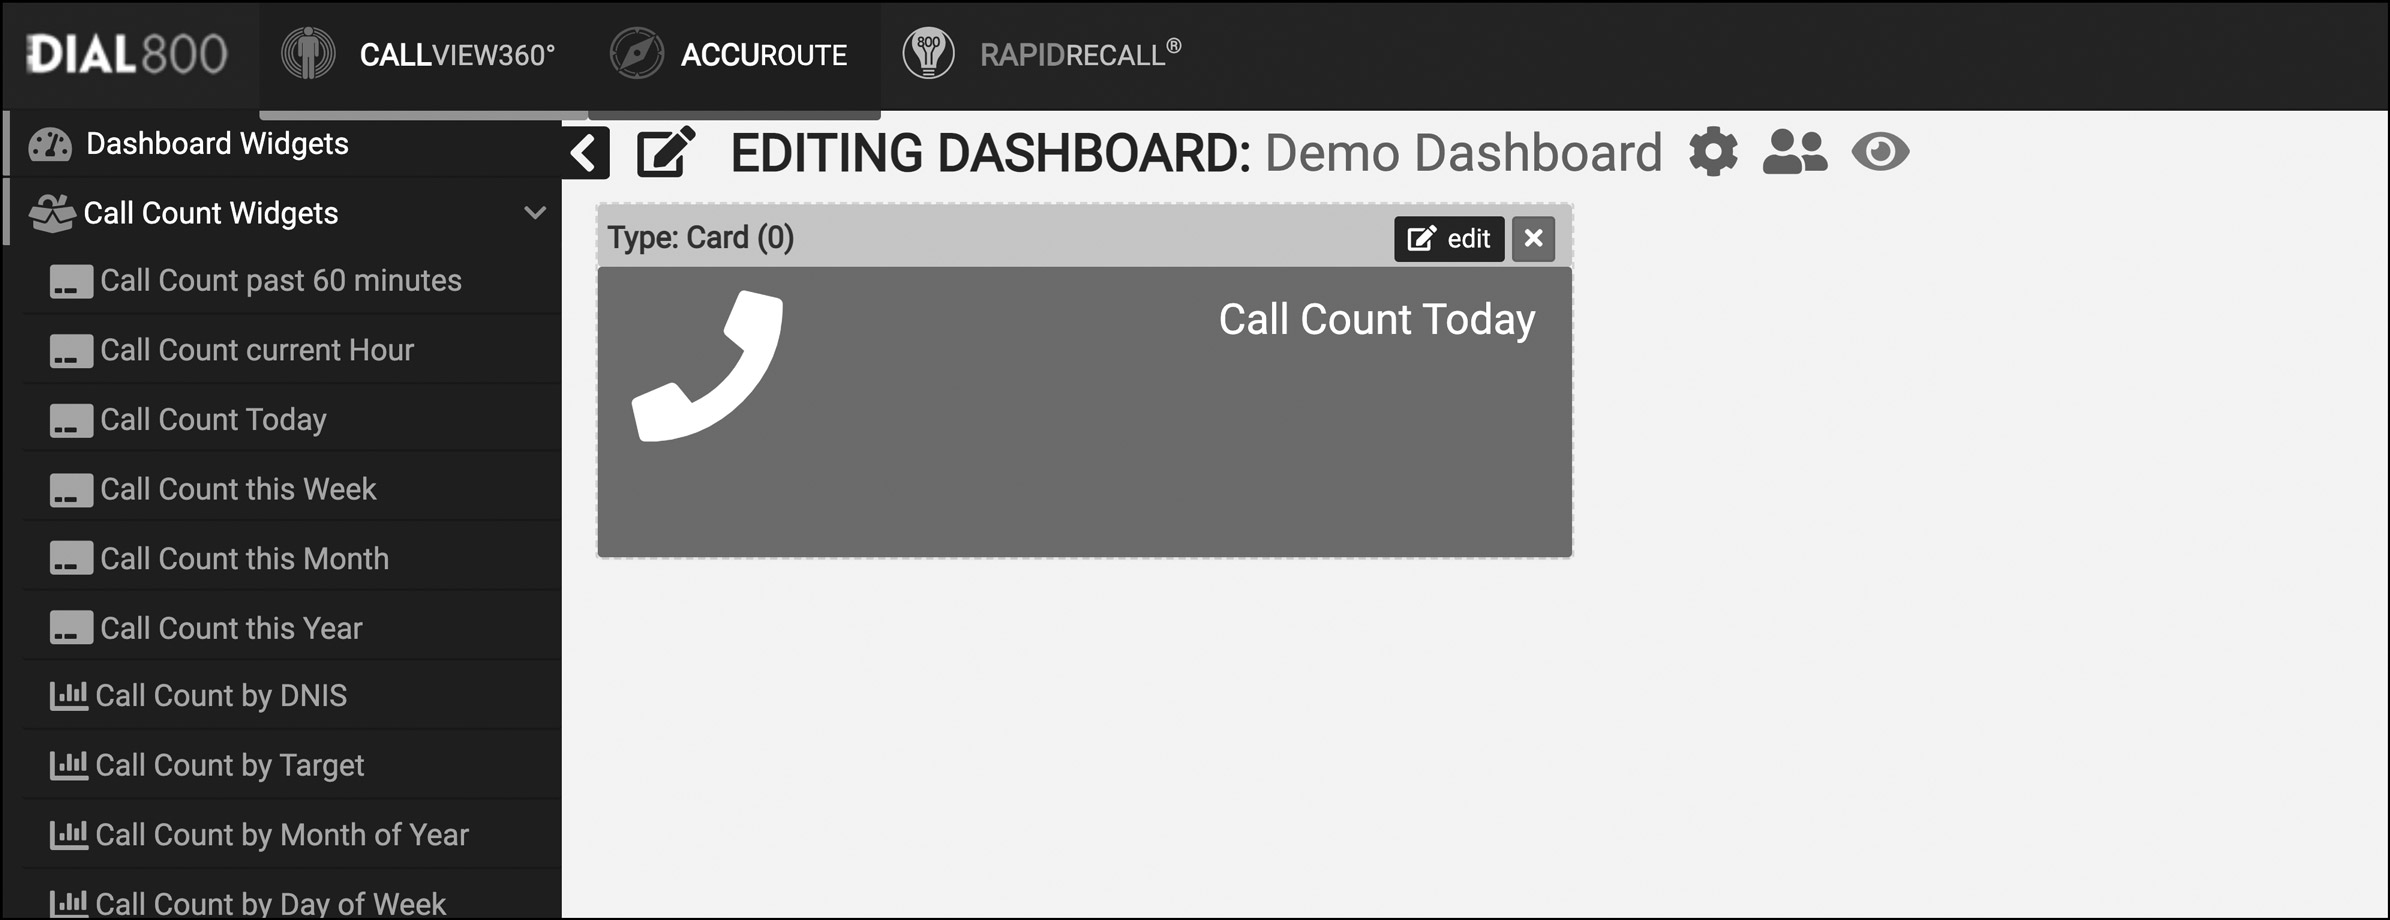
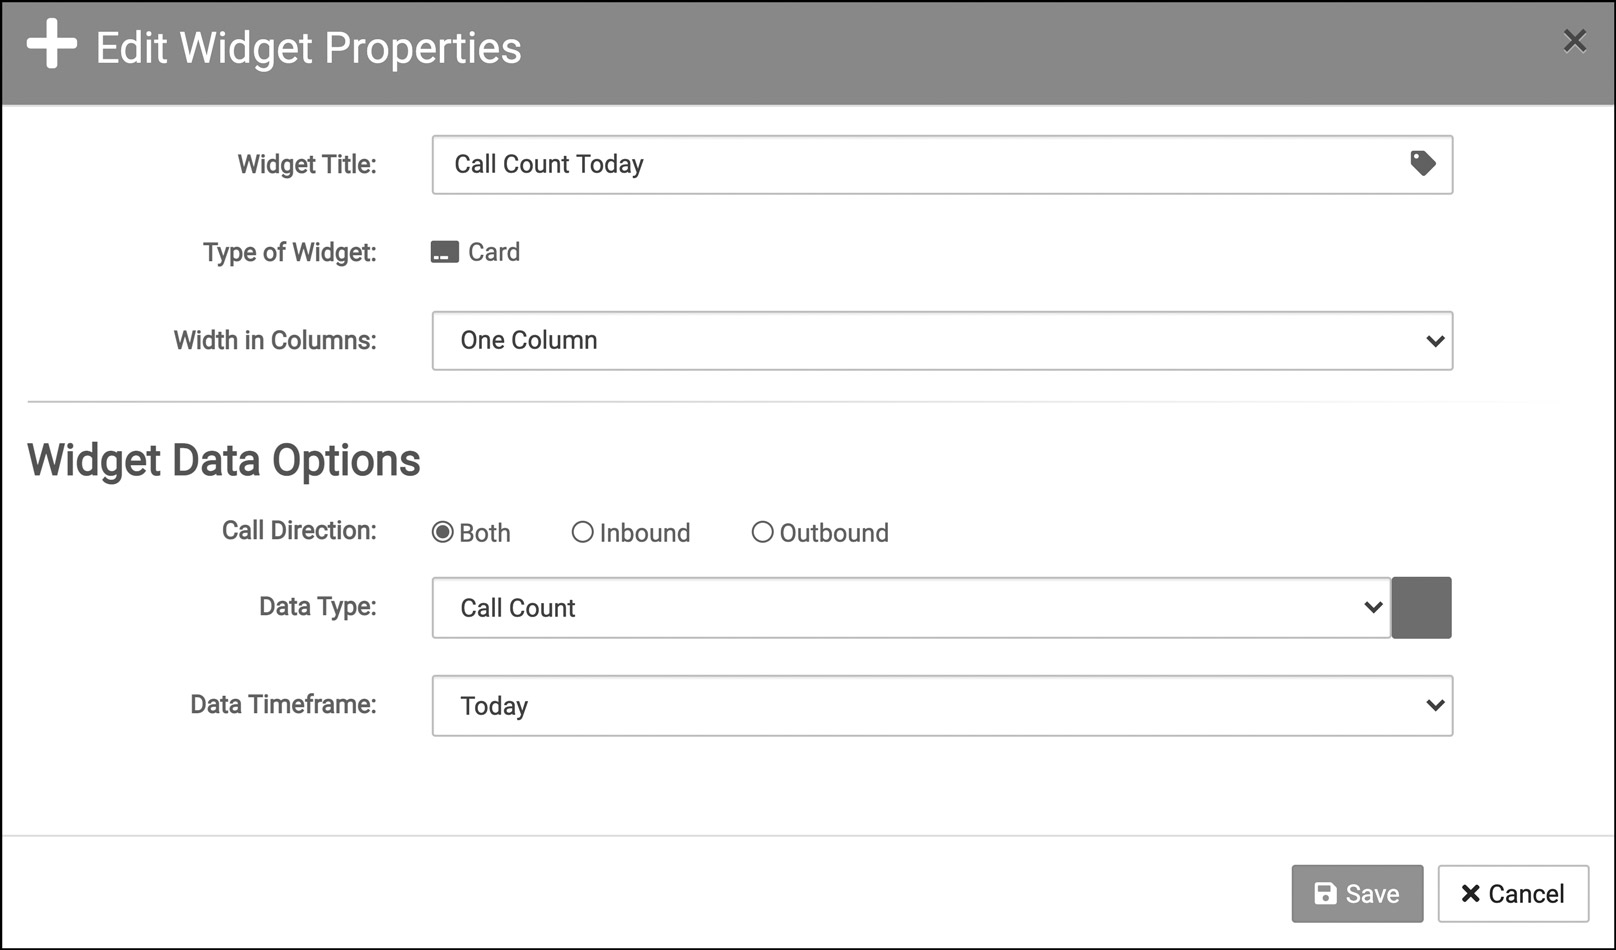
- Once it is added to your dashboard, click the black edit box on your widget to edit it; you can edit the title of the widget, the color, the data options, and more
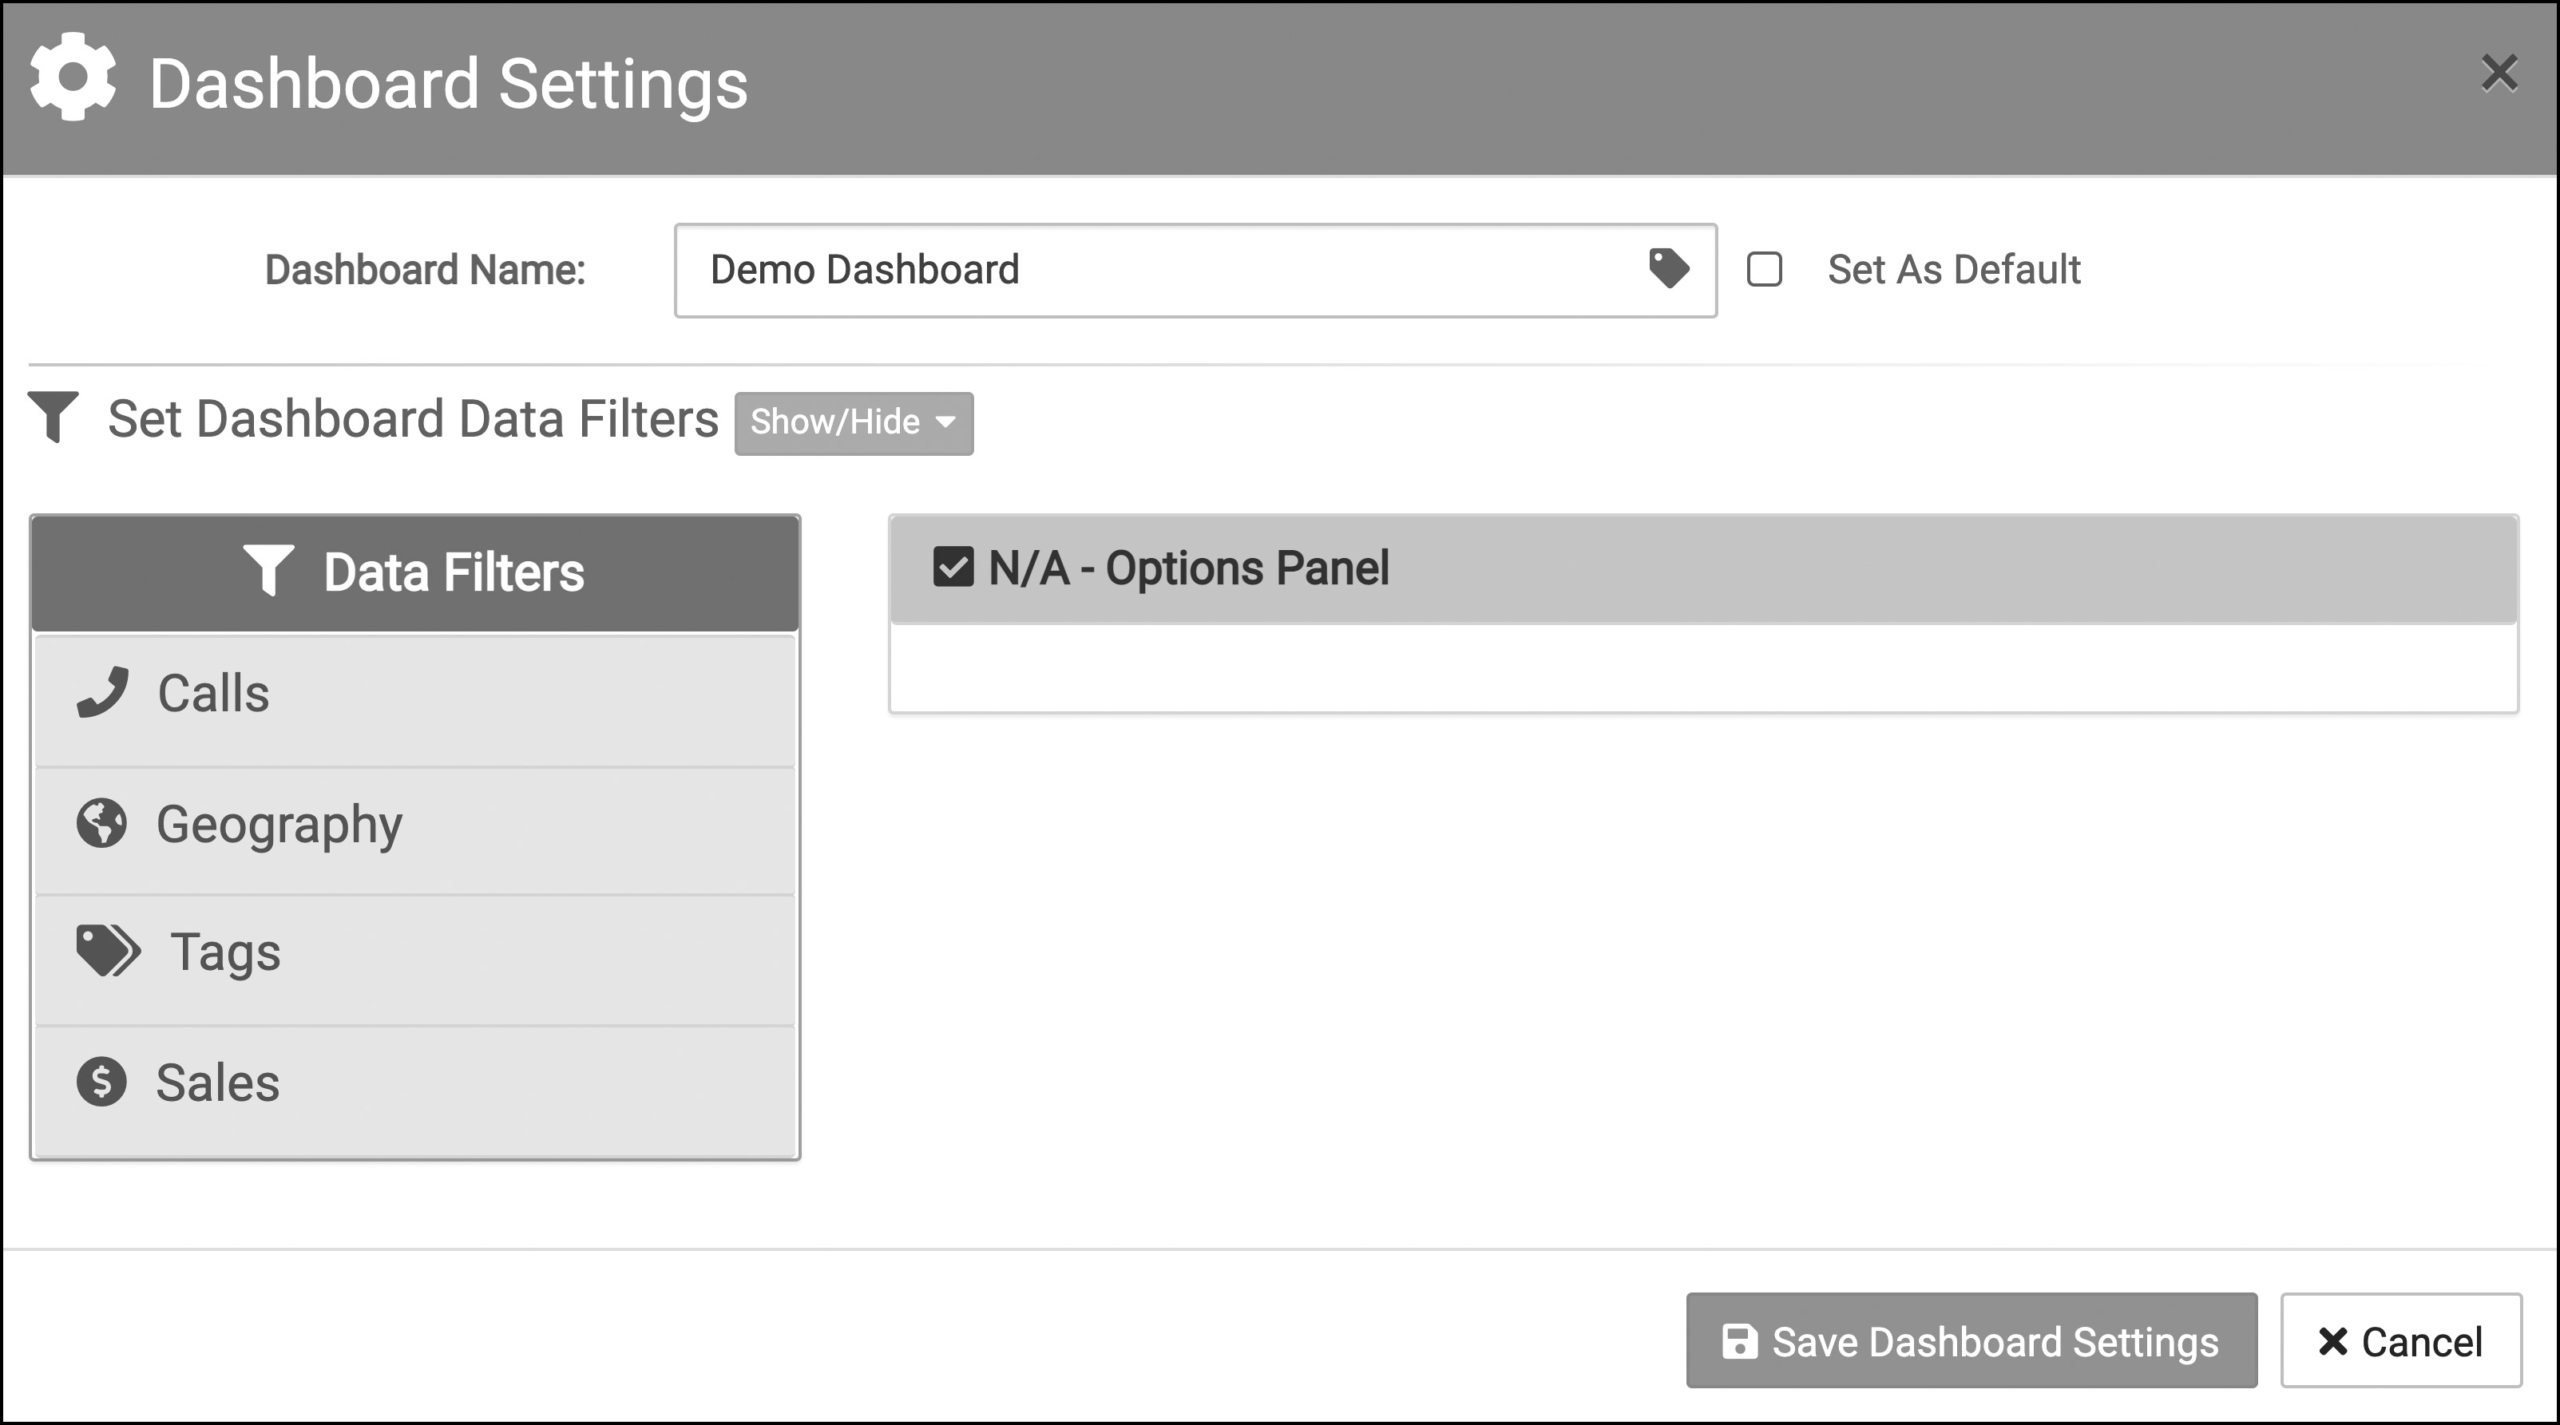
- To change the name of your dashboard, or to filter data over the whole board, select the gear icon next to your dashboard name on the top of the board
- You can also set the dashboard as your default, so it opens up automatically when CallView360 opens; if set as the default, it will take a moment to populate the data after logging in
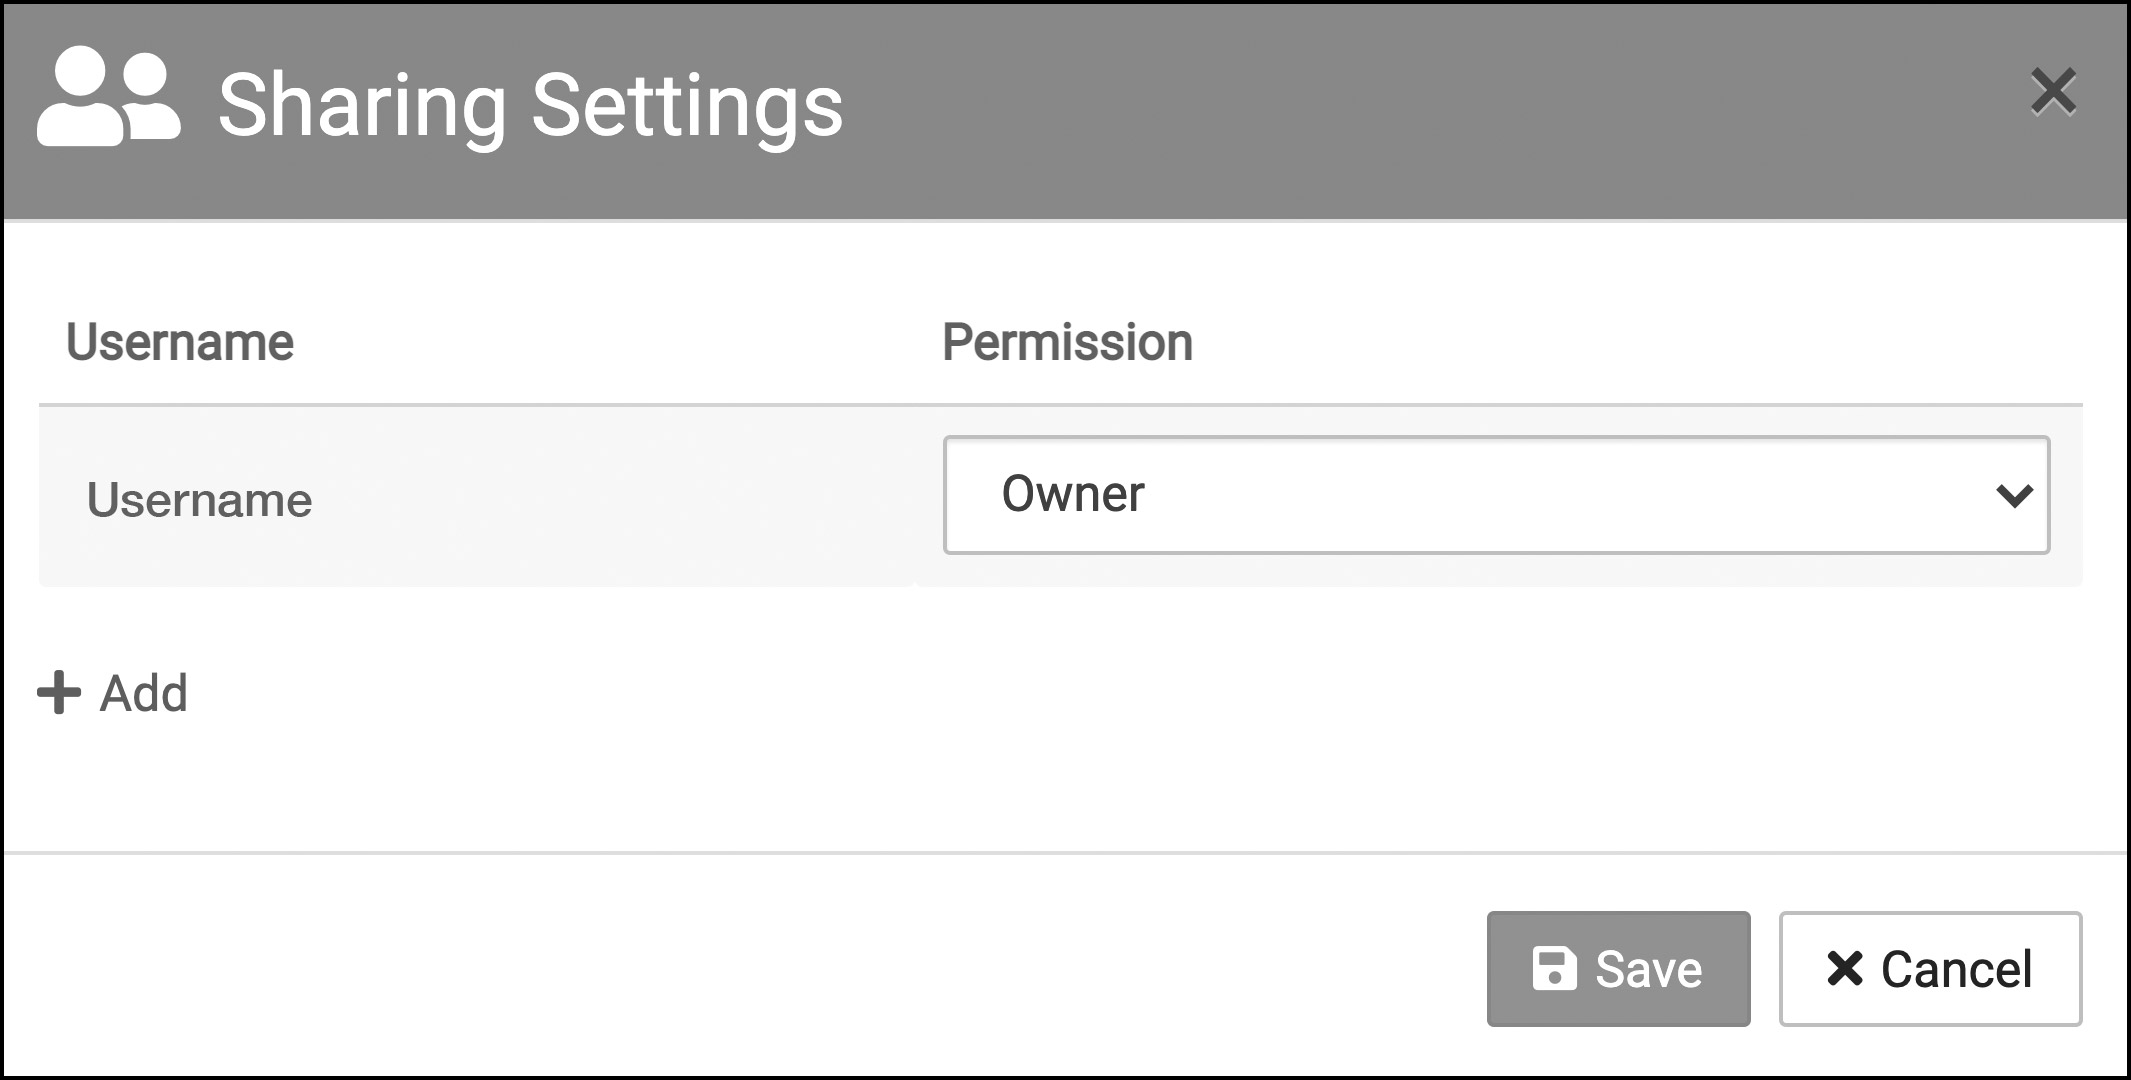
- To share your dashboard with another user, select the two-person icon next to the gear icon on the top of the board and add other users in your company to view, edit, or own the custom dashboard
- To save and view your dashboard, select the eye icon next to the two-person icon on the top of the board
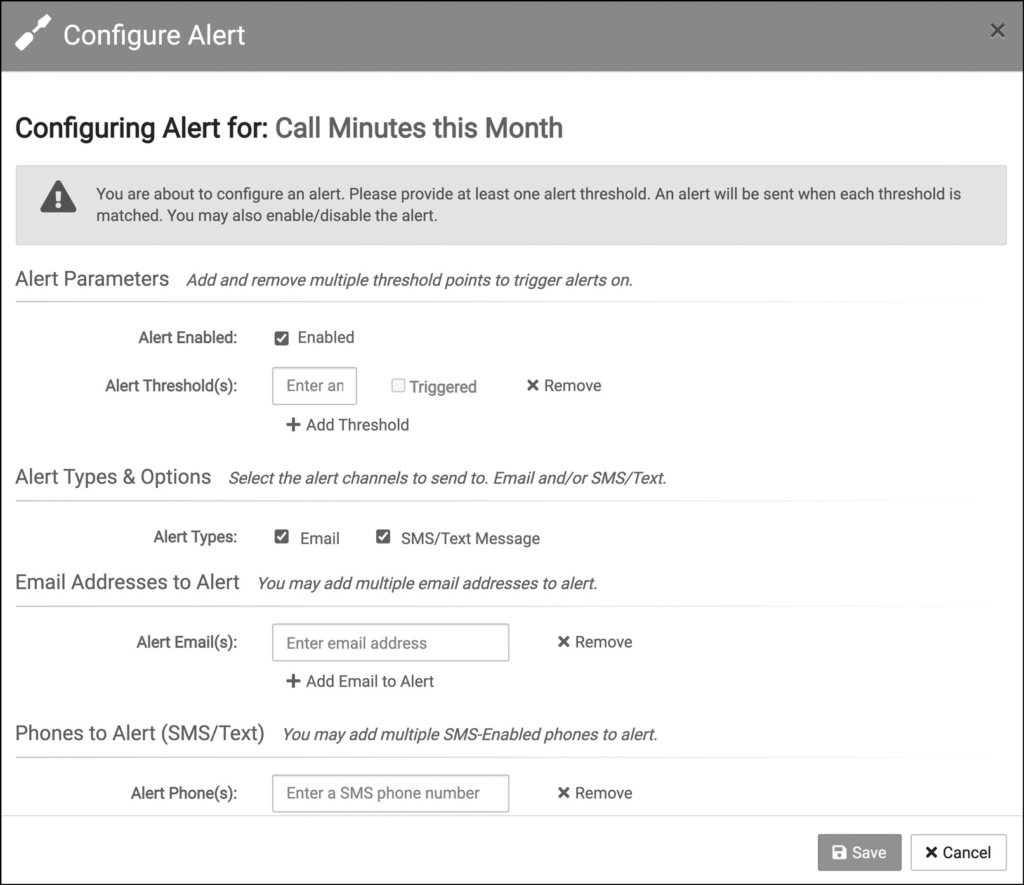
- You can also configure alerts for widgets that can be triggered by certain data hitting or not hitting benchmarks, a useful tool for alerting you of problems as soon as they occur like a high number of bounced calls
Example of a Customized Dashboard
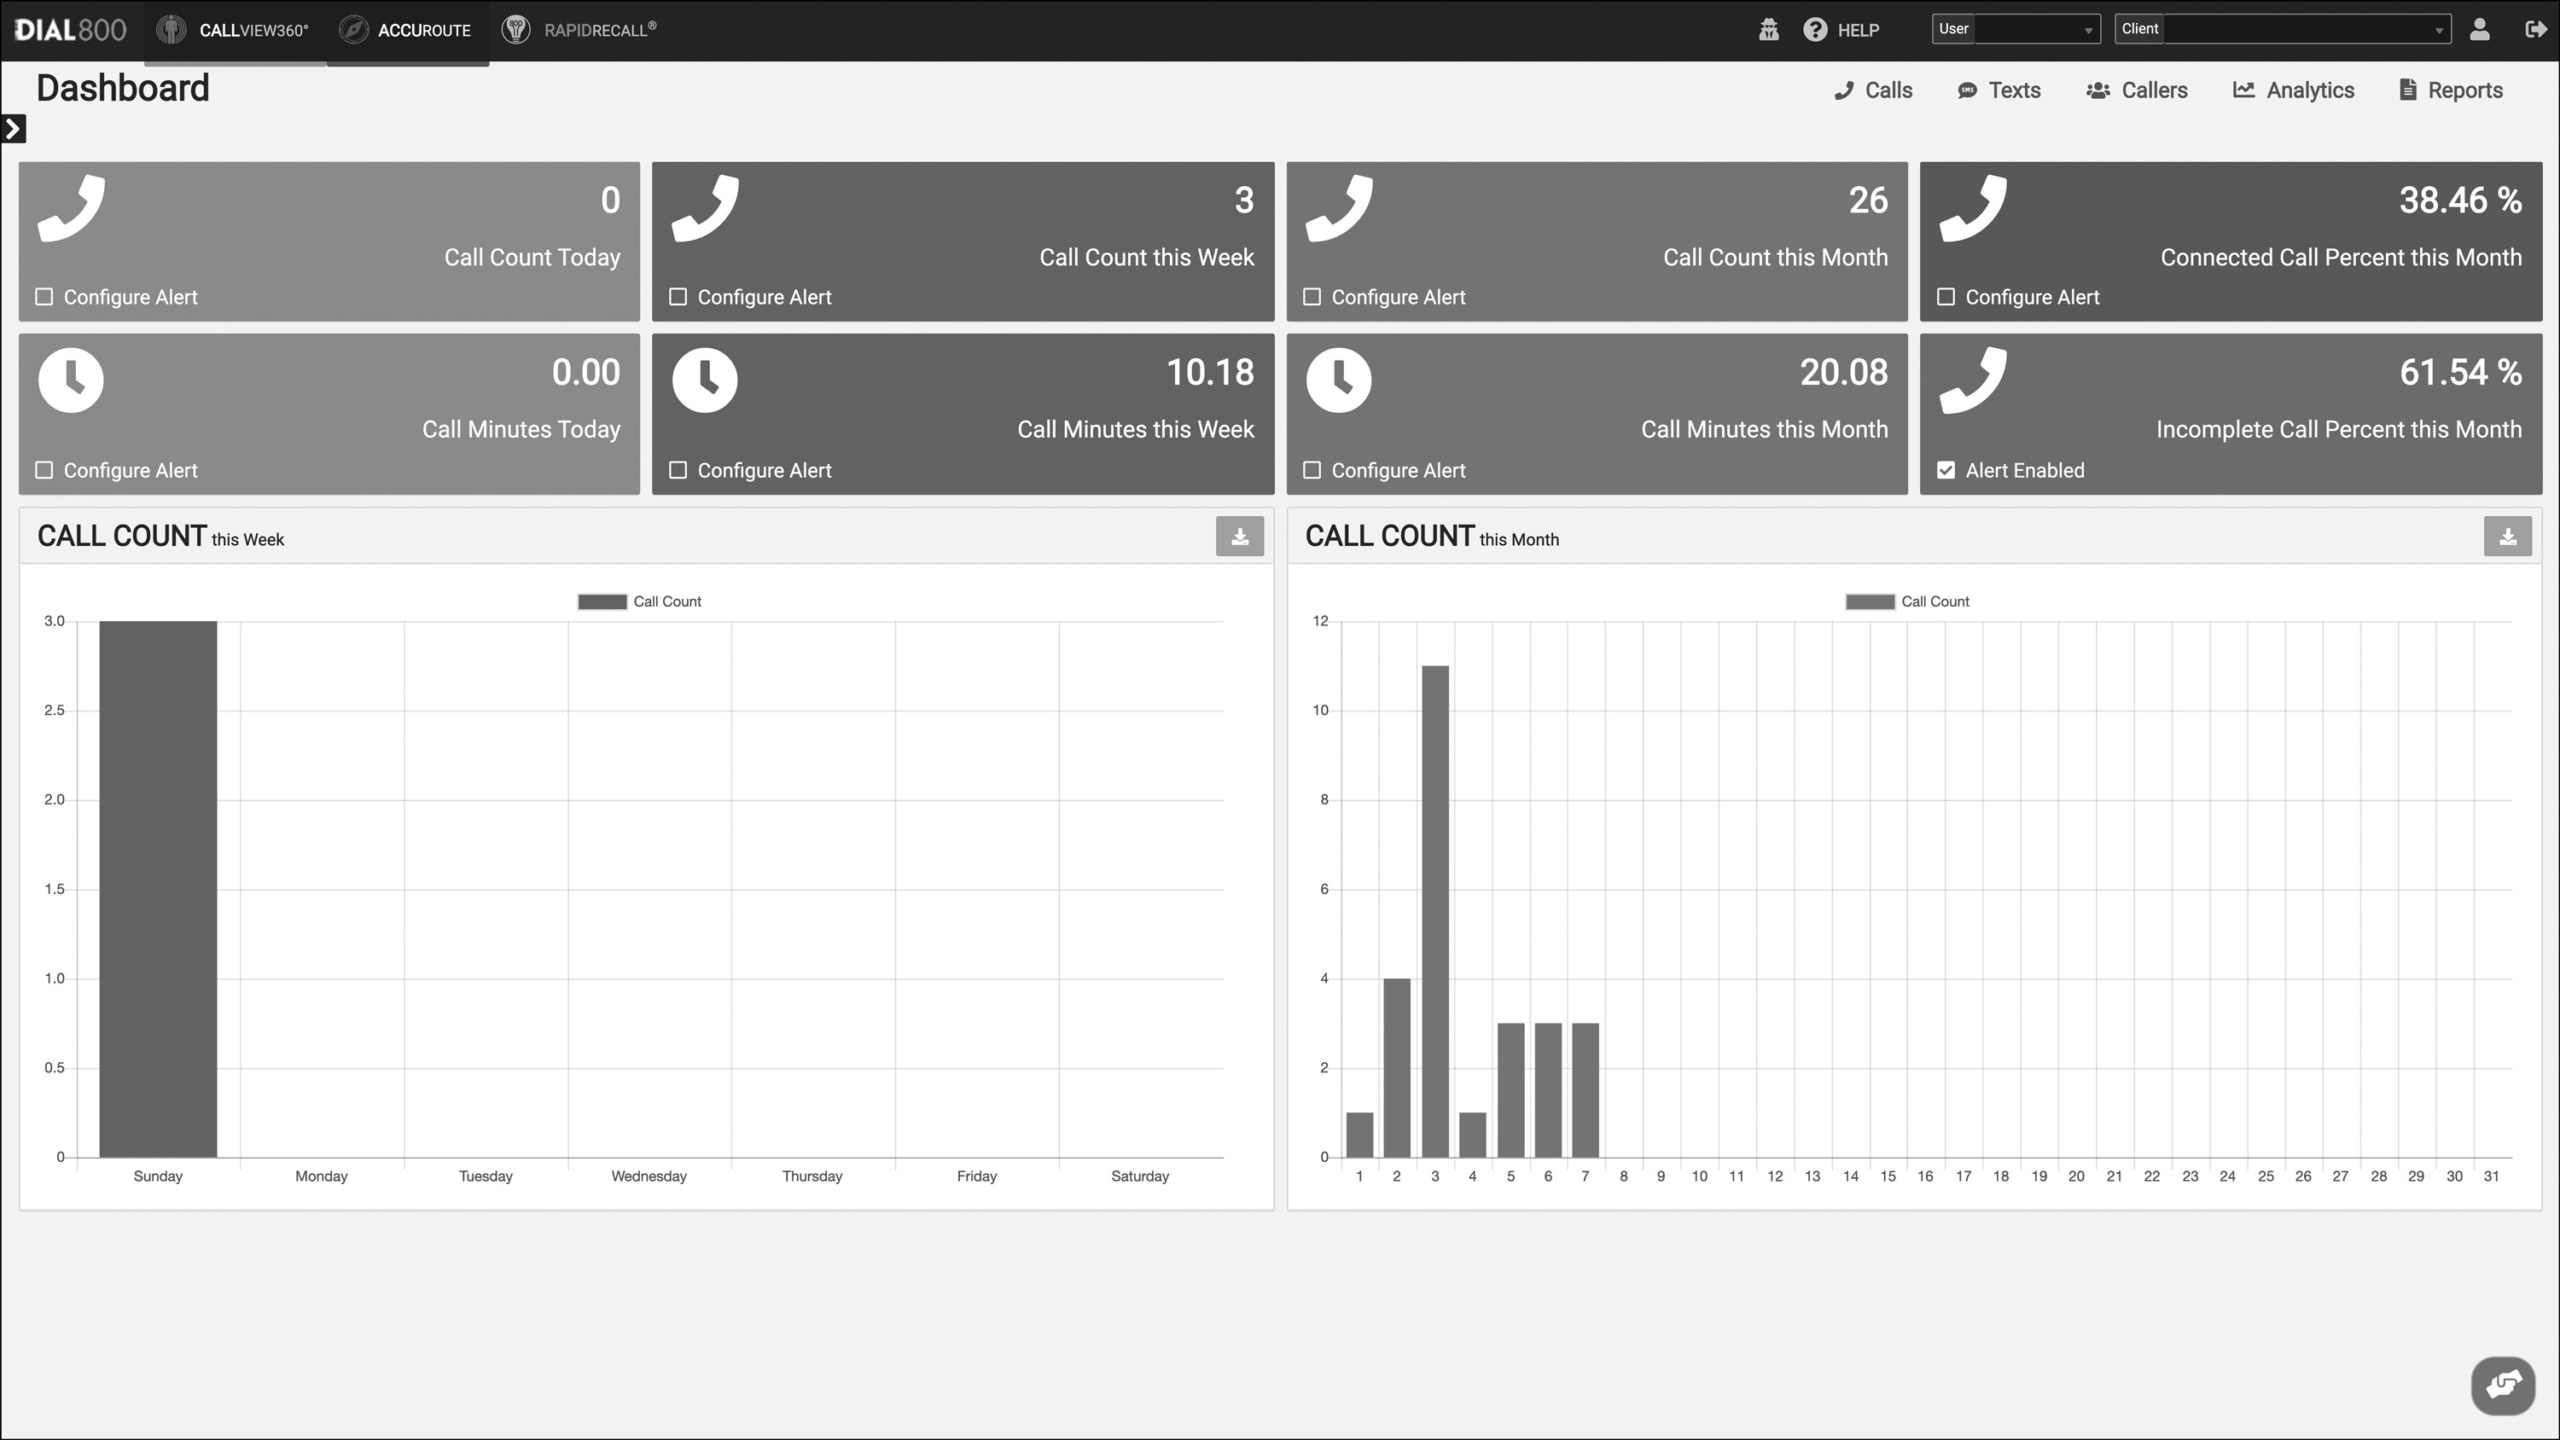
In this dashboard, there are widget cards and widget charts in use. The widgets have been color adjusted and organized. The data within the charts can be exported by clicking the blue export icon on the widget.
Your custom KPI dashboards are now ready for your review.